Wednesday, 18 November 2009

Macro Photography

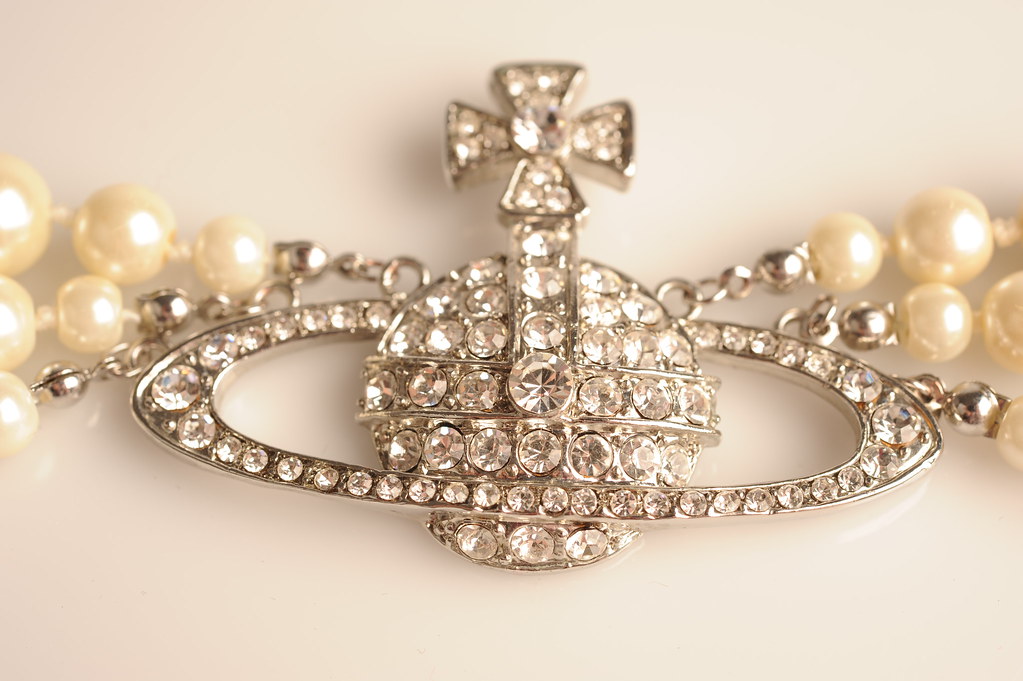
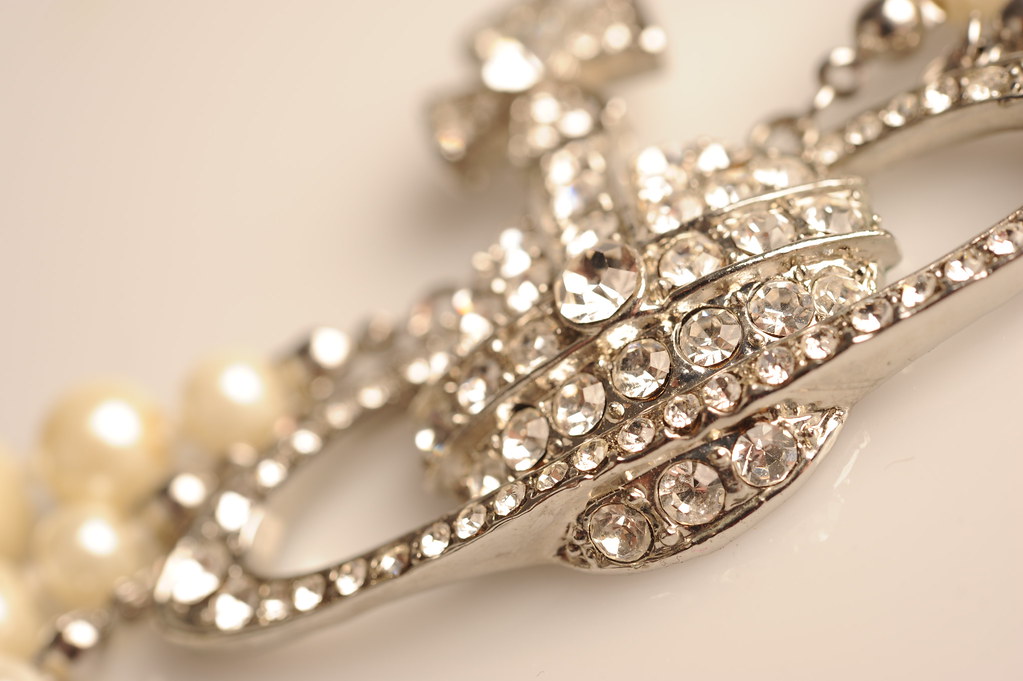
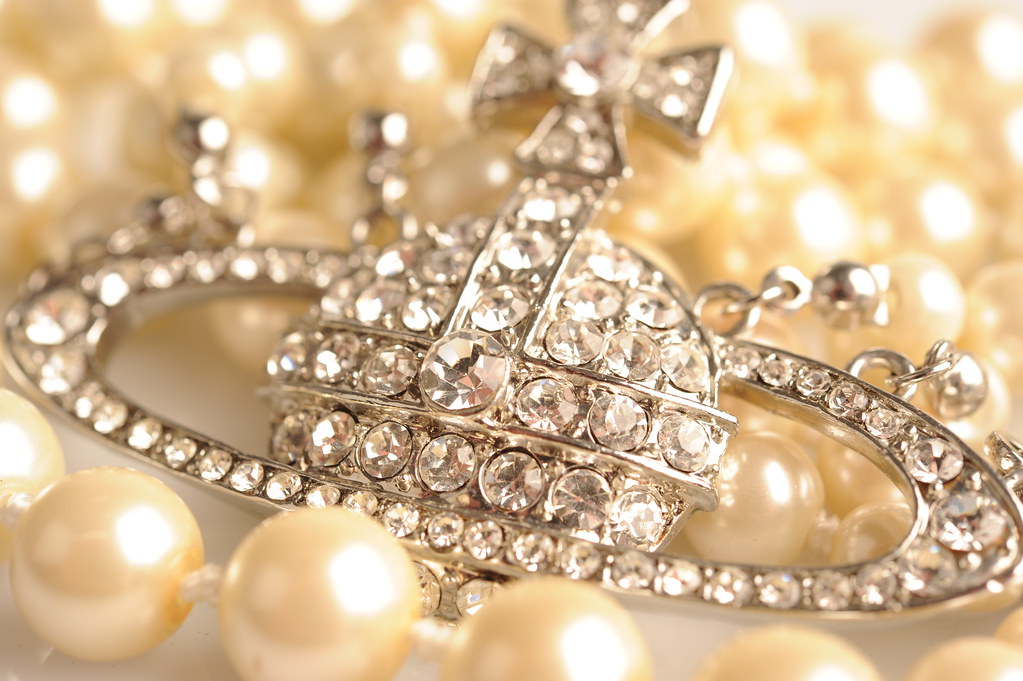
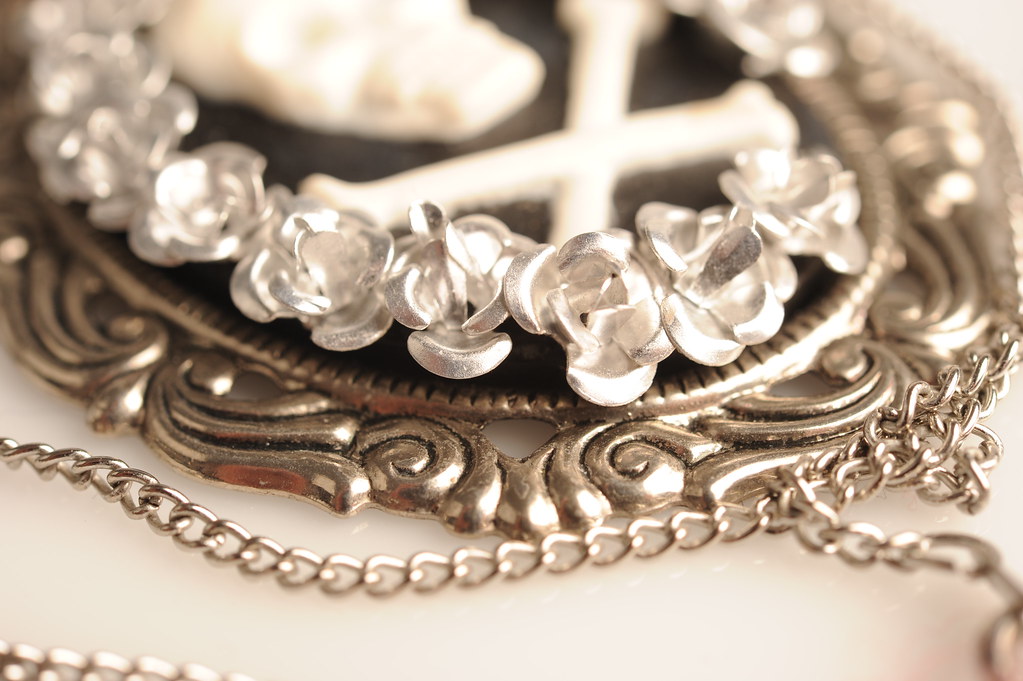
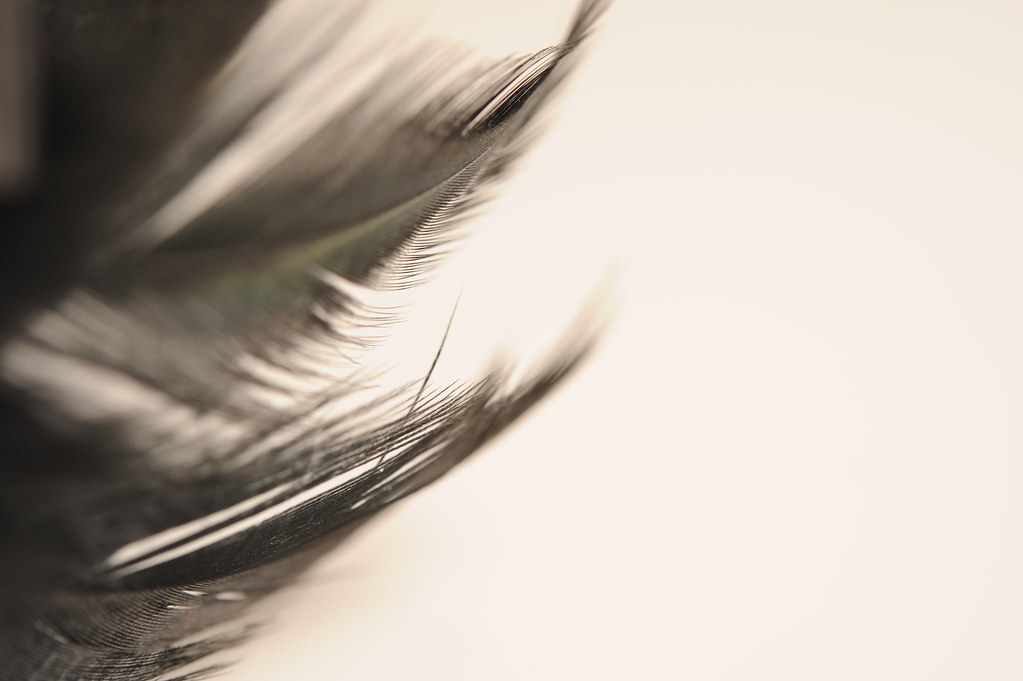
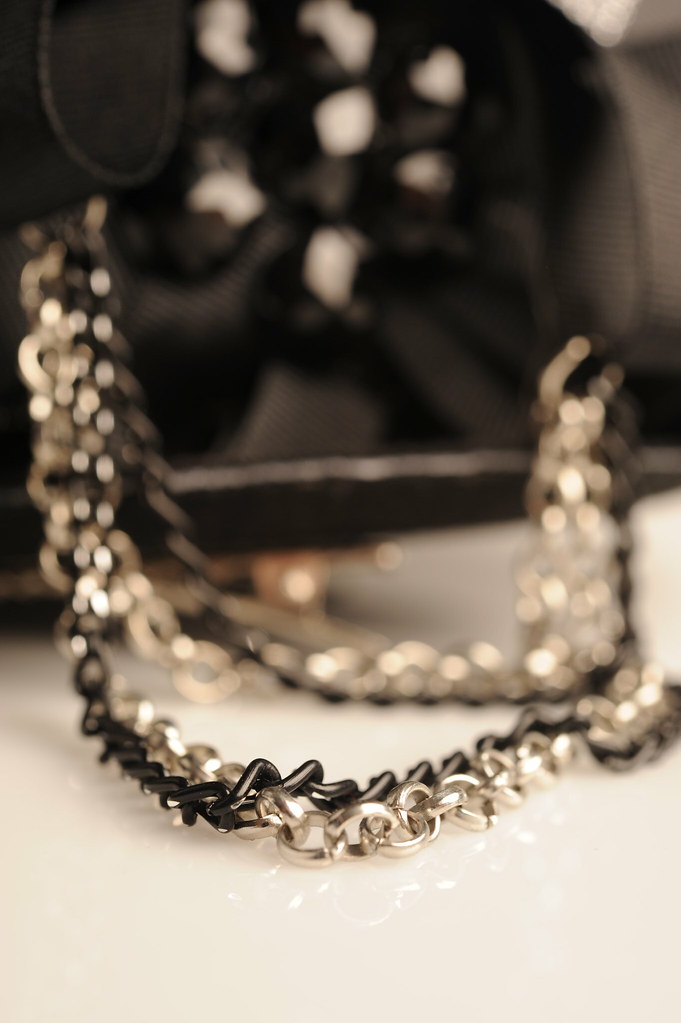
Today we was shown a demonstration by Andy using extension tubes, then we were sent off in groups of four to take some images ourselves. We used a Nikon with a macro lens, Here are some of the images we took:


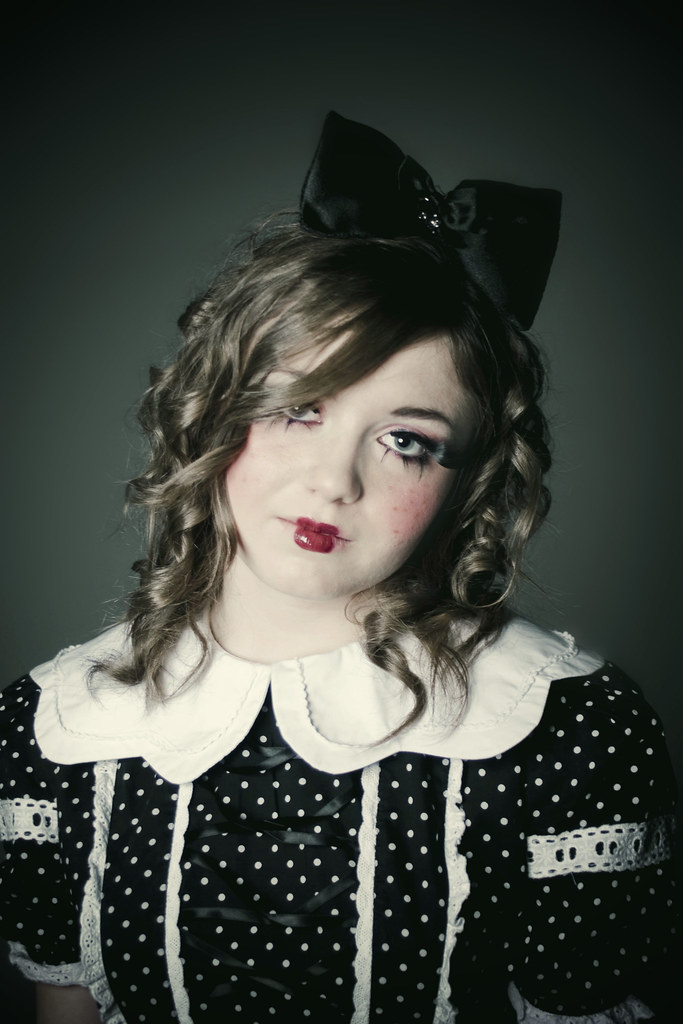
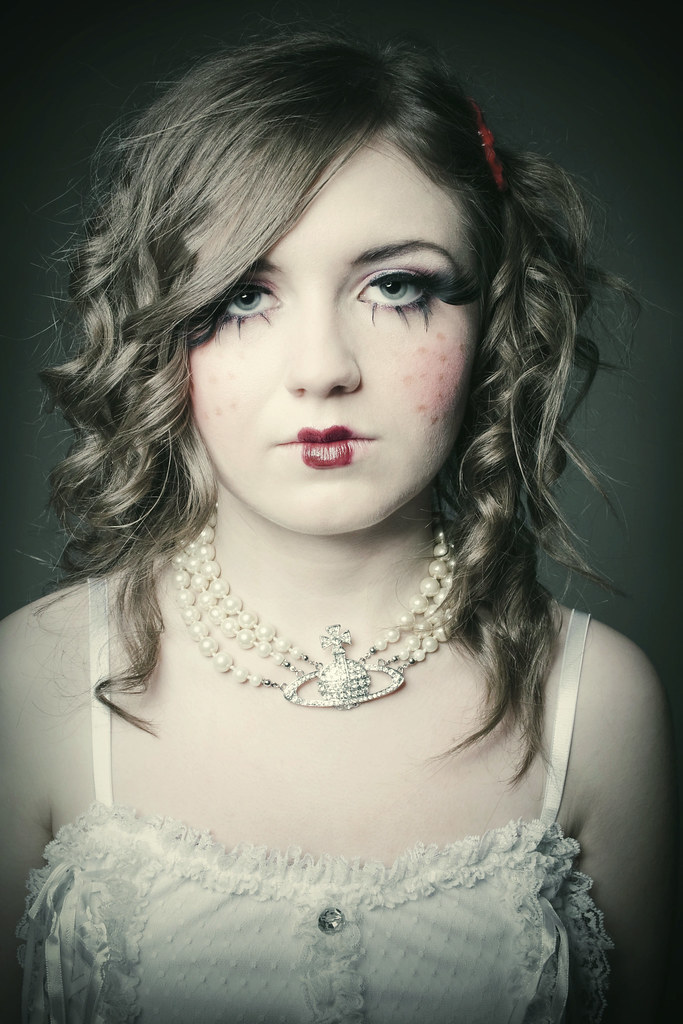
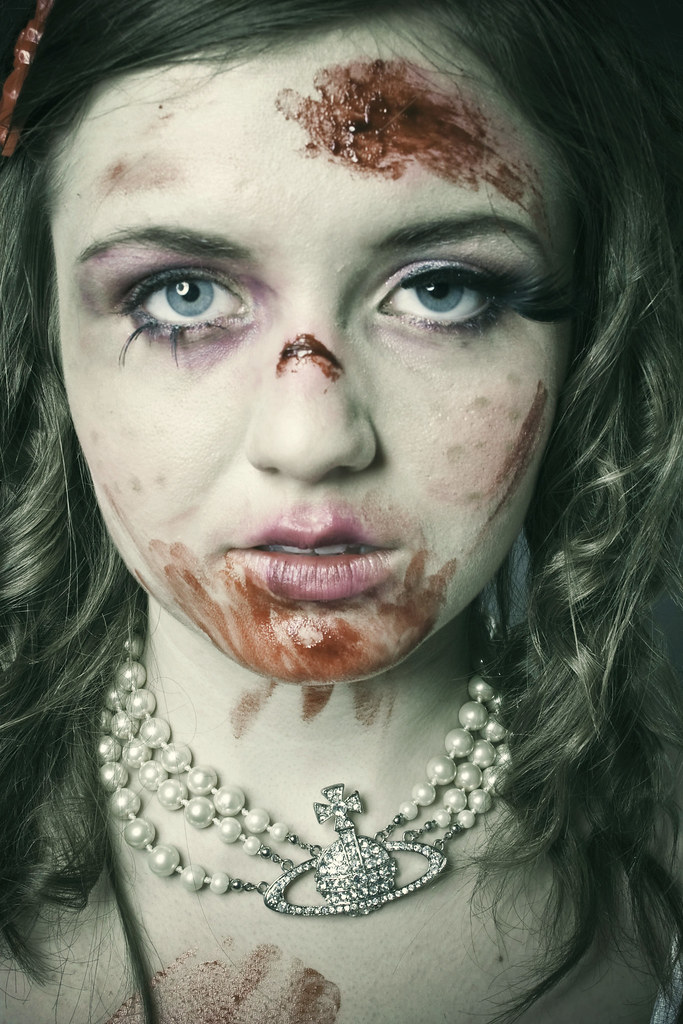
Dolly

These images are from a shoot with make-up artist Alice Birchmore and her sister modelling. It was my first time working with a make-up artist, and due to bad experiences in the past with no-shows i decided i would arrange everything with the mua this time - which is quite an unusual thing to do for me - i usually contact the model first and then sort the rest out later. We e-mailed each other for around a month, getting our ideas together and giving Alice a chance to have a practise. - It all paid off :)


Tuesday, 17 November 2009

Lighting Techniques - Bottle

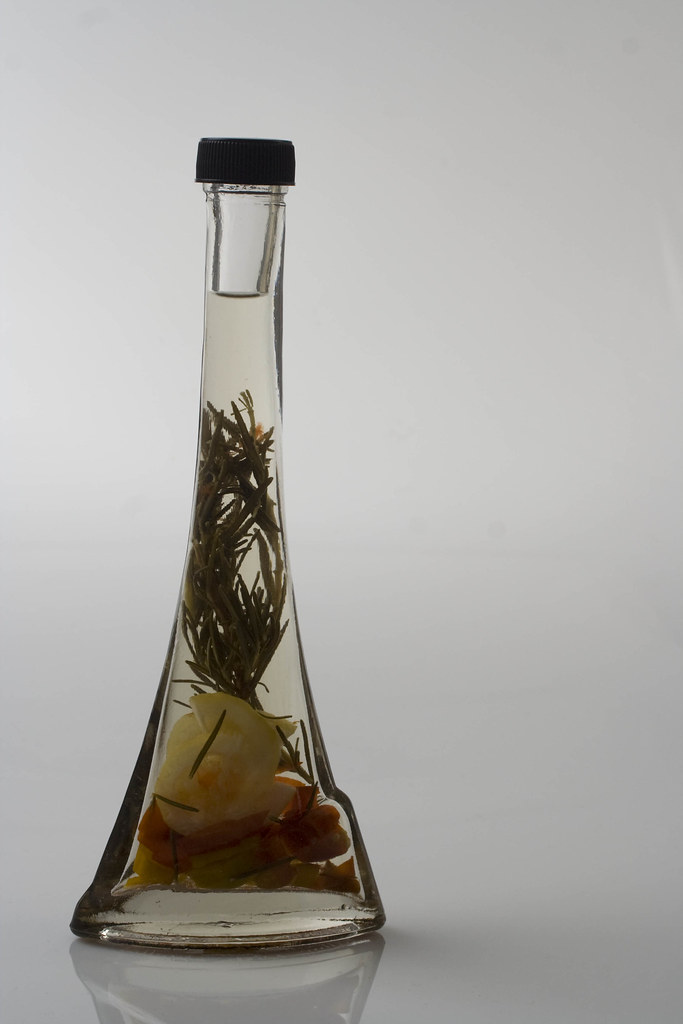
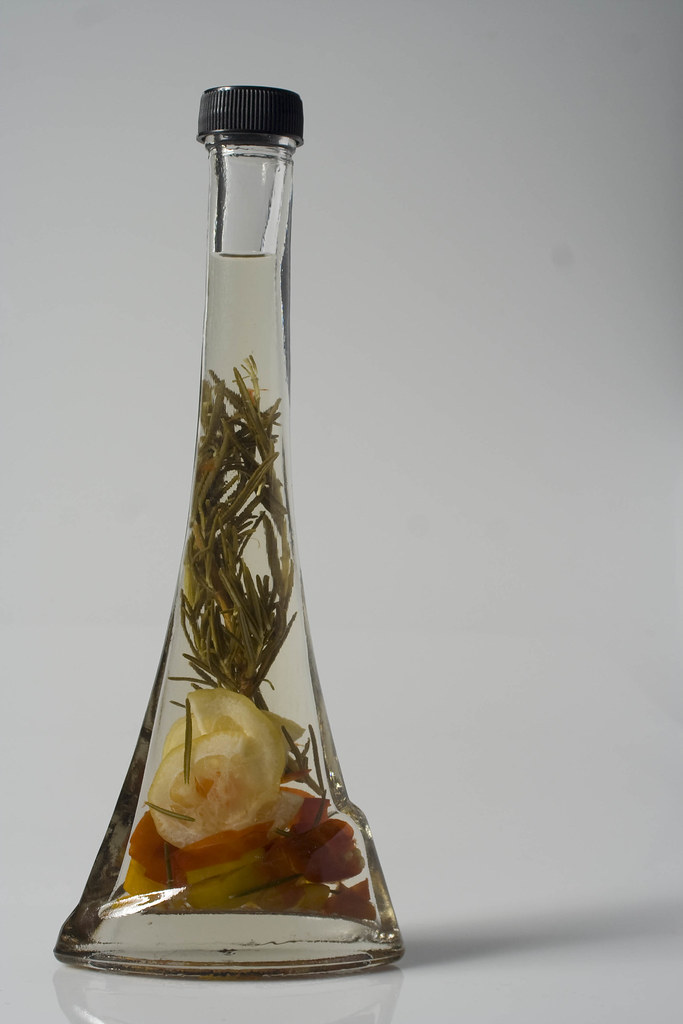
For this part of the brief we had to take a picture of a glass bottle using different light modifiers - softbox, honeycomb, beauty dish and umbrella. I decided to use a decorational bottle since i thought it would look a little more interesting.

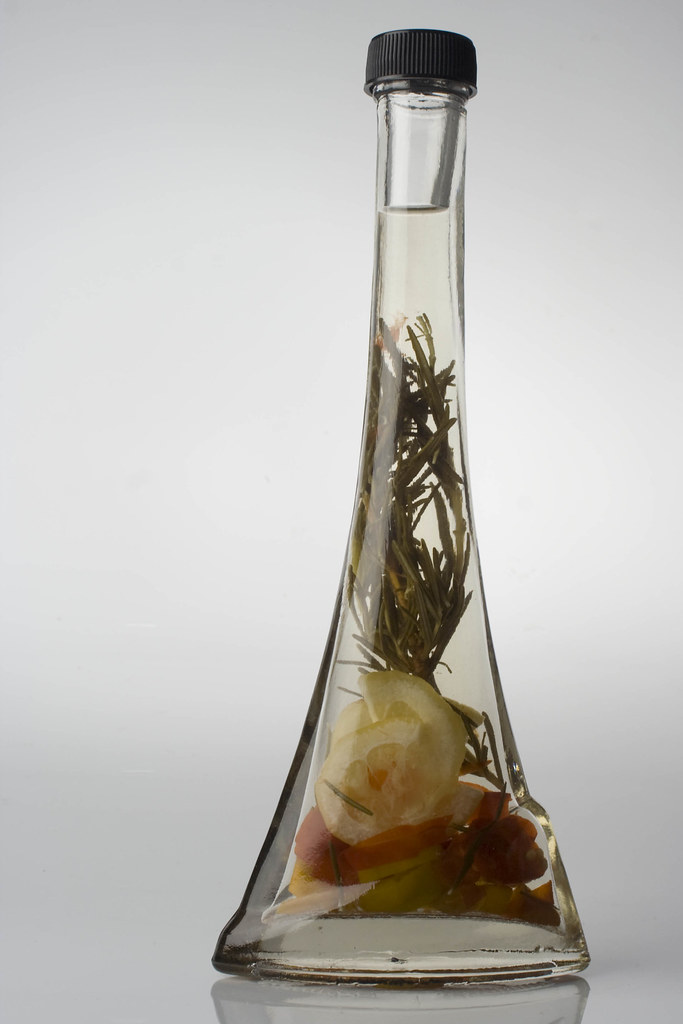
This image is taken with a softbox and a backlight behind the product table. I don't think the highlight along the side of the bottle is strong enough and the content of the bottle is a bit dark.


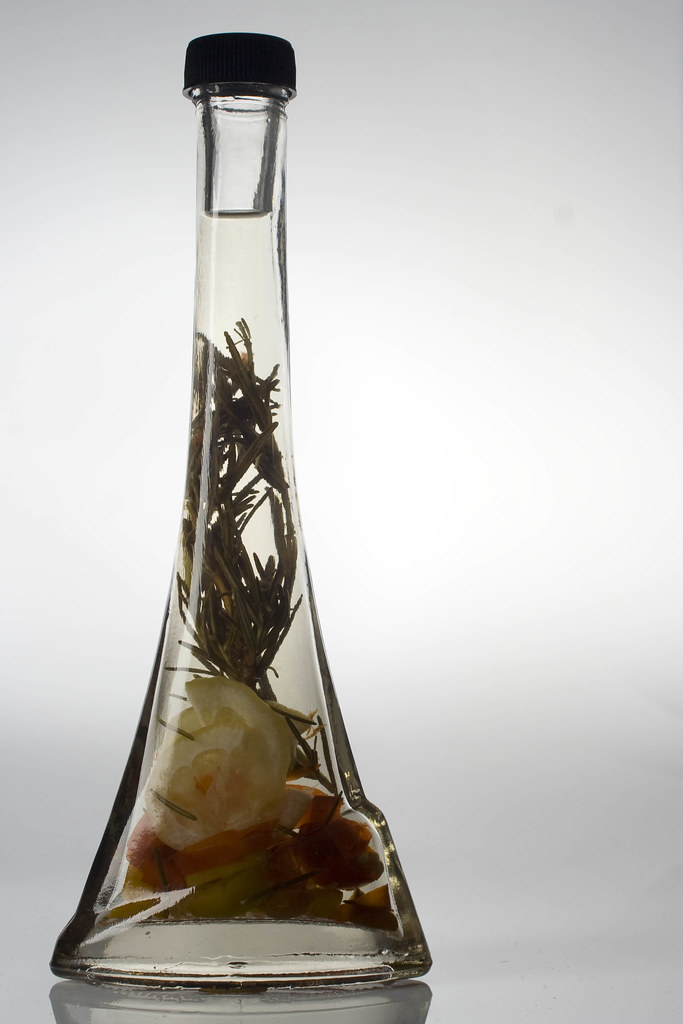
This image is again, taken with a softbox and backlight. This time i used the flagging technique (by putting black cloth over the softbox) to create a more defined highlight

This image is taken with a honeycomb. The light is a lot harsher since the honeycomb is much more directional, and it brings out all the marks on the bottle that you wouldn't usually see.

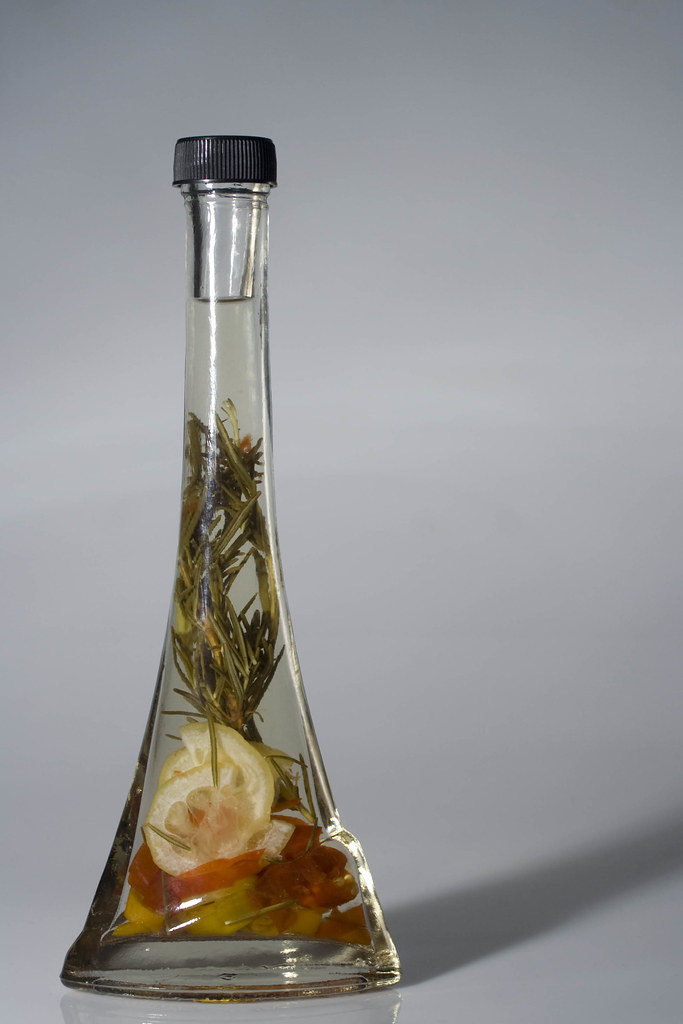
This image is taken using an umbrella, i think the lighting in this image is a bit flat, as there are no highlights on the bottle.

This image is taken using a beauty dish, beauty dishes are usually used for lighting portraits, hence the name. The lighting isn't that bad, but i think the big circle highlight is a bit distracting.

Overall i think the softbox with flagging created the nicest lighting, and it seems it is the most effective way to light glass since you can create defined highlights.

Thursday, 12 November 2009

Different Light Sources - Bottle

This image was taken in the darkroom under the red light.


This was taken in a object tent, with the light from the window coming from the left. This lighting is quite flat since it's diffused through the side of the tent.


This image is also taken in the object cube, although this time the light from the window was coming from behind the bottle. This lighting doesnt work on the glass so well because of the two big highlights in the bottle and it doesnt really define any shape.

This image was taken on a window ledge, so using just natural light. We decided to use a bottle with frosted glass for this image. I think the lighting is quite nice, but the background is quite destracting. 

This image is the same as above, although using the clear glass bottle to see the effect window lighting has on this.

This image was taken using the light from the mac screens, i don't think this is very effective because there was interferring light from the window, if we had blacked out the room it wouldve worked better.

This image is the same lighting as above, we used the clear glass bottle because the lighting is perhaps more noticeable on this.

These images were taken in the darkroom, in the pitch black. We used a tripod with a slow shutter speed and a mini torch to make light trails around and behind the object. I think this is a really interesting effect that i will probably look into doing more of at somepoint in the future. I think the first and second images are most effective.