Friday 23 October 2009

Little Apple Dolls - Scratch Experiment

I decided to experiment with creating scratch textures in the darkroom - using plastic wallets with various different scratches and placing them over the photo paper during the exposure. I got this idea after reading about how Joel-Peter Witkin places glass on top of his prints and paints over it with coffee and various other things - i want to try this aswell at some point - but doing scratches this way saves doing it directly onto your negatives and possibly ruining them. These are all shot with a Kodak No.2 Autographic Brownie, using a light tent cube and two continuous lights with 5500k daylight bulbs - same as the previous post i made with the digital images.

This is the straight print.

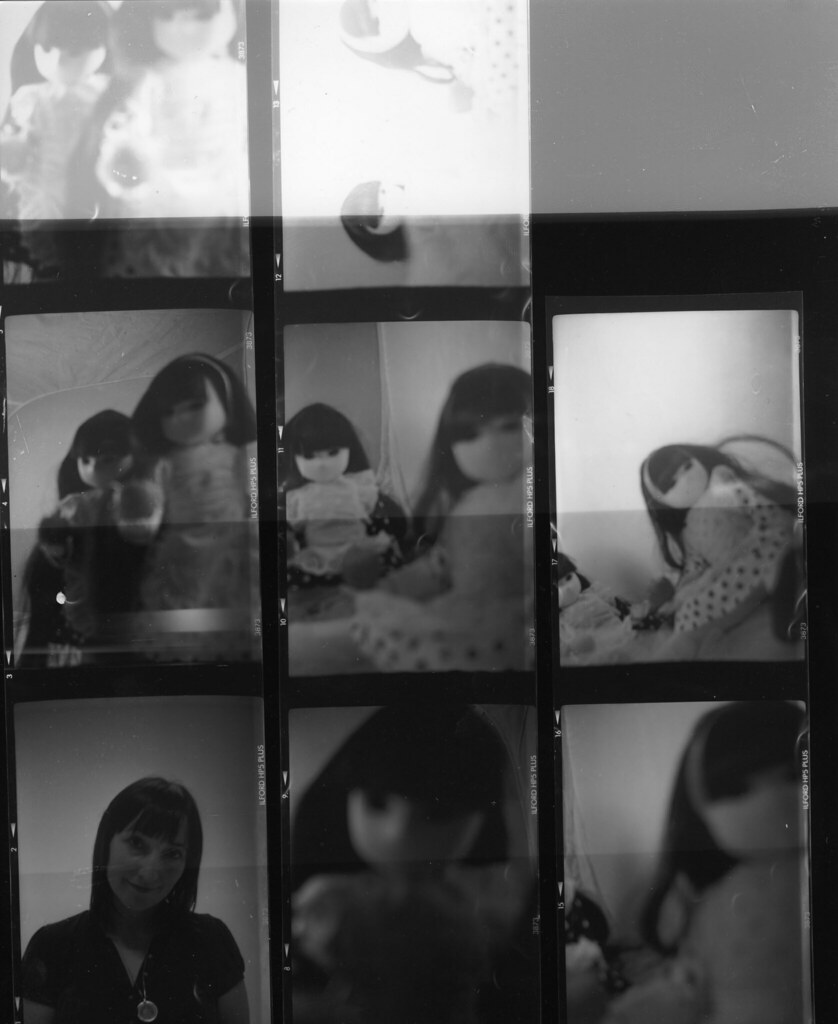
These scratches were done by scratching into the plastic using just scissors - i think these are far too noticeable and distract away from the actual picture.

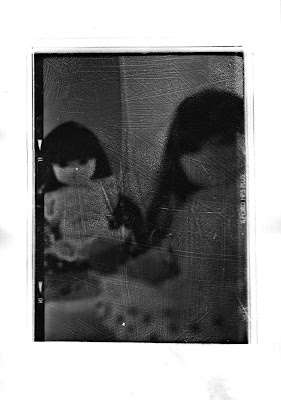
This was done using sandpaper, the plastic i used for this had a slight texture too, i like texture this makes overall - although they dont look like 'natural' scratches.


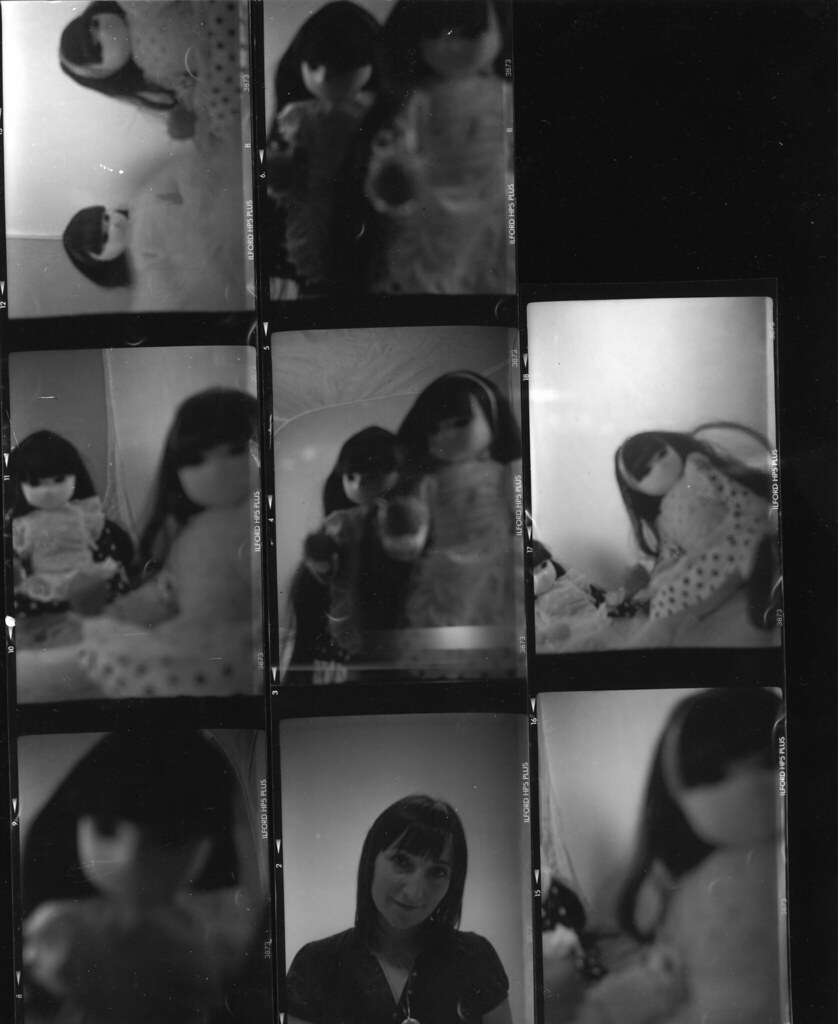
This was done using a mixture of both of the above - clear plastic this time with sandpaper, and a few scissor scratches. This is better but i feel i would like it more if it was a bit more subtle still.

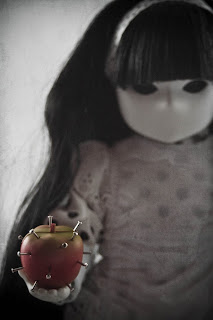
This is my favorite of the bunch - i accidentally over-sandpapered a sheet of plastic and it all ripped in the middle. I had a go to see what it'd look like anyway and i love the 'crack' effect it makes. Happy accidents are great!

I think i need to figure out a way to get more subtle scratches, i think i went a little over the top, but for a first try i think they turned out pretty good!

Thursday 22 October 2009

Importing and Organising in Adobe Lightroom

Importing + Organising
First go to File > Import Photos From Disc/Import Photos From Device. Click import from disc to import pictures already on your computer... import from device to import directly from a device i.e your camera.

That should bring up a screen that will look something like this:
I choose to 'copy photos to a new location and add to catalouge' this will create a new folder with the pictures in my pictures folder, and also add them to my lightroom catalouge. I organise them by date, i feel this makes it easier to find things. I dont usually apply any presets when i'm first importing, although you can do this by clicking on 'develop settings' and it will apply the chosen preset to all the imported photos. The one preset i always use when importing is one under 'metadata' i created a copyright preset so that when chosen all my imported photos have a copyright notice embedded in the metadata.

Now everything is imported and you can see the newly made folder on the left side under folders > 2009.

I'm going to create a new collection and add them to it now. First go to the collections section and click the '+' button then 'Create Collection'
Which should bring up this box:
In the name area type in what you want to call the collection - i called mine 'Uni work - Lighting Techniques' and i will put all my newly imported photos into this collection, as well as any more lighting technique pictures i do in the future. After you've done that click 'create' and you should have a new collection!

Next select all the photos you want to add to the collection - in my case it's all the ones i just imported, so i select the first one and hold down the shift key and click on the end photo, that should select all photos. All you need to do now is drag and drop them to into your new collection - on the left hand side!

Writing a caption:
First, go to the library section and select the image you want to write a caption for.


Next, scroll down on the bar at the right untill you get to 'Caption' under 'Metadata' and type in your caption.. and thats how you write a caption, in this section you can also embed your copyright notices into the metadata aswell as lots of other details.
You can also write a caption for more than one image at the same time, by selecting all the images you want to write a caption for (using either the shift or ctrl key) and doing the same steps you normally would.

Tuesday 20 October 2009

5x4 negative


Here is a scan of the 5x4 negative i produced in the first darkroom lesson, i bought a new scanner so i thought it would be a good idea to scan this, it has been inverted in photoshop. We used a Cambo Monorail Camera, Ambient light from above with a fluorescent tube to the side and Ilford Orthochromatic Large format film. There is a slight blur to it as it was accidentaly double exposed - although this doesn't matter too much since the aim of the lesson was to successfully produce a negative! 

contact printing


Here is a contact sheet from the 120 film i shot the other week of the little apple dolls, i used a Kodak No.2 Folding Autographic Brownie. This first contact sheet was made to determine how long of an exposure i needed - here are the times i used:

  • 5 seconds for the whole image
  • 5 seconds for 1/4 image (covering up the other 3/4)
  • 10 seconds for 1/2 image
  • 10 seconds for 3/4 image


This is my final contact sheet, i decided to use a 40 second exposure. Contact sheets are used as previews and to evaluate prints without wasting paper.

Saturday 17 October 2009

Magic Hour

Went out today to do Magic hour - or Golden hour photo's. Decided to go on a trip to Entwistle reservoir, although the sun went down earlier than i expected - sunset time was 18:05 according to BBC Weather, so i aimed to get to the location for around 5, but when i got there i found the sun was already going down rapidly.. so i acted fast and got these shots on the road just outside the entrance to the reservoir. I am actually pleased with the way these turned out, i also got some shots of the reservoir, but they were taken after magic hour so i wont include those. 

 
ISO - 100, f/9.0, 1/80sec
Taken at 17:17
Camera on tripod using a cable release.
Shot with daylight balance, although i decided to warm up the colours in Lightroom as i feel it suits the lighting more. This image looks much nicer when viewed large - you can see all the little highlights in the grass and on the trees, which is one of the nice effects that magic hour lighting has! This is my favorite image from today, i think it has a very atmospheric feel, especially with the lens flare and the cloudy detail in the sky.


ISO - 100, f/9.0, 1/80sec
Taken at 17:18
Camera on tripod using a cable release.
Same as the last image really, though it was shot pointing slightly more to the left - away from the sun. The Lens Flare is a little less obvious - but its still there. I think the first image is more effective because of the more defined flare. In this image the highlights on the trees to the left are a bit more obvious.


ISO - 100, f/9.0, 1/80sec
Taken at 17:19
Camera on tripod using a cable release.
Shot with daylight balance and again warmed up in Lightroom. This image was taken facing away from the sun, the sun was directly behind me so i had to actually lie down on the floor for this, or you wouldve seen my shadow! if you look closely though you can see the shadow of my tripod :)
I love the contrast between the sun-lit trees/grass and the gloomy looking sky and road.


ISO - 100, f/9.0, 1/125sec
Taken at 17:19
Camera on tripod using a cable release.
All the same as the last image mostly although this time shooting directly into the sun - so i had a use a faster shutter speed. Now this is very contrasted, the sun is very bright in comparison to the dark sky and grass, but you have to sort of sacrifice detail if you want to shoot directly into the sun. Again - I love the little highlights and the very moody looking sky! - im sort of glad i chose not to do this on a clear day :)

Friday 16 October 2009

Slow Shutter Speeds

These images were taken at Sunnyhurst woods in Darwen. I orignally went here to do magic hour pictures but because i shot in the woods you couldnt really see the effect of magic hour properly, so i decided to use a tripod and do some images using slow shutter speeds. I think this works best with the waterfall images since it gives the water a smooth effect.
In the other images i dont think you can really tell they were done using a slow shutter since there wasn't much moving.

ISO 100 - f/11 - 2.0sec

ISO 100 - f/22 - 2.5sec

ISO 100 - f/22 - 2.5sec

ISO 100 - f/22 - 2.5sec

ISO 100 - f/22 - 2.5sec

Thursday 8 October 2009

Little Apple Dolls

I found a brilliant website yesterday it's similar to the likes of tumblr, but alot easier to use. I use mine to post photography inspiration and keep track of it (since i usually forget things!)
You can see my page here :)

So, today i received some Little Apple Dolls in the post so i decided to make a start on the Objects Brief. Although only a quick set up using a light tent cube and two continuous studio lights with 5500k daylight bulbs (cheap kit i bought for home use!) so it was more of a test shoot untill i book the studio... i also have a few different ideas for backdrops rather than just white.

Setup

I shot this primarily on a Kodak NO.2 Autographic brownie, with 120 film, since i have to shoot and process a roll for Tuesday's darkroom session - so i'll post the results of that later. Although i also did a few with my DSLR for good measure.. here are some of them -

F/5.6 - 1/80sec - ISO 800
Contrast and colour adjusted in Lightroom, texture added in Photoshop.
On the left is Pestis and the right, Creo. I added a texture because i think it makes it look alot creepier, and i like this kind of distressed look. When i get my negatives back im going to try scratching into it and some other things to get this effect, i think it'll turn out alot nicer on film. I think the texture i used is from here - a great site for free textures (although i really should make some of my own!)

F/5.6 - 1/80sec - ISO 800
Contrast and colour adjusted in Lightroom, texture added in Photoshop.
I decided to focus on the apple in this picture as it forces your eye more towards it so you notice there are actually nails sticking out of it.. which adds to the creepy feel.

F/5.6 - 1/80sec - ISO 800
Unedited
I have put this one up to show the difference between the edited and un-edited photos.