Monday 30 November 2009

Drop Focus

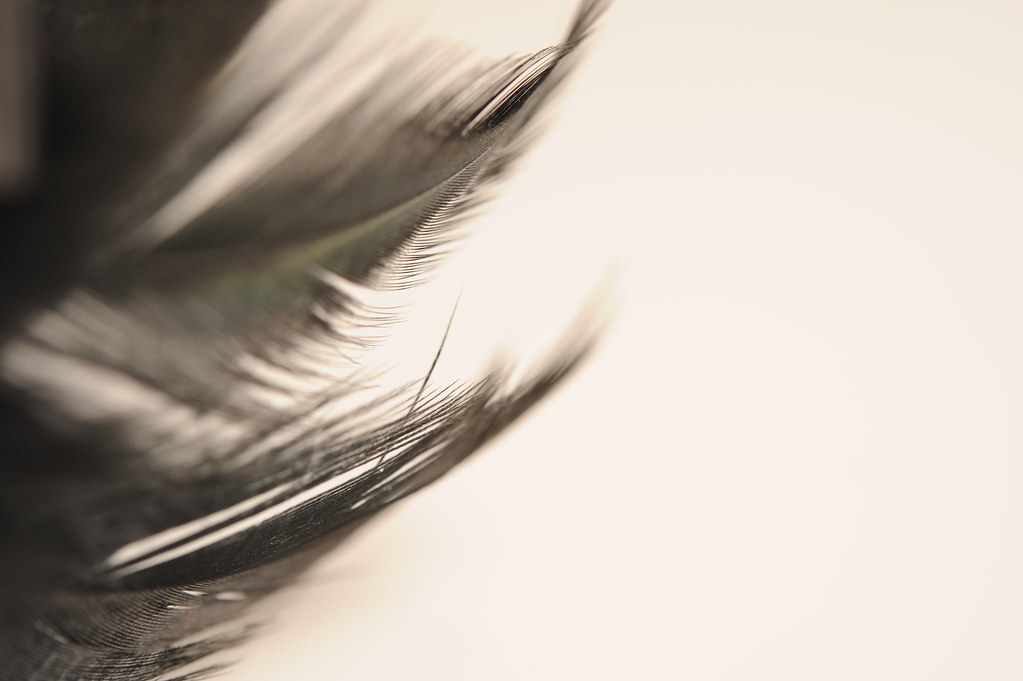
For part of the systems & processes brief i have to take a photo using the "drop-focus" technique. At first, i was a little confused as to what this was since i couldn't find anything about it online. Andy explained to us that drop focus is - in macro and close-up photography - when you get a band across the image in focus and the rest is blurred, this usually happens when shooting across the subject.. rather than shooting from above, where you would get more of the image in focus. I decided to use some tiny confetti/sequin stars, these things are really small.. and tend to get everywhere! I thought they would be interesting to use, because they are 'sparkly' the out of focus highlights give a bokeh effect.. which looks quite magical! I took these images using extension tubes with a combination of different lengths.


This image is a clump of stars i found which were stuck together, i decided to photograph this on its own on some glittery paper. I think this image looks really nice, and the bokeh effect really adds the the image.


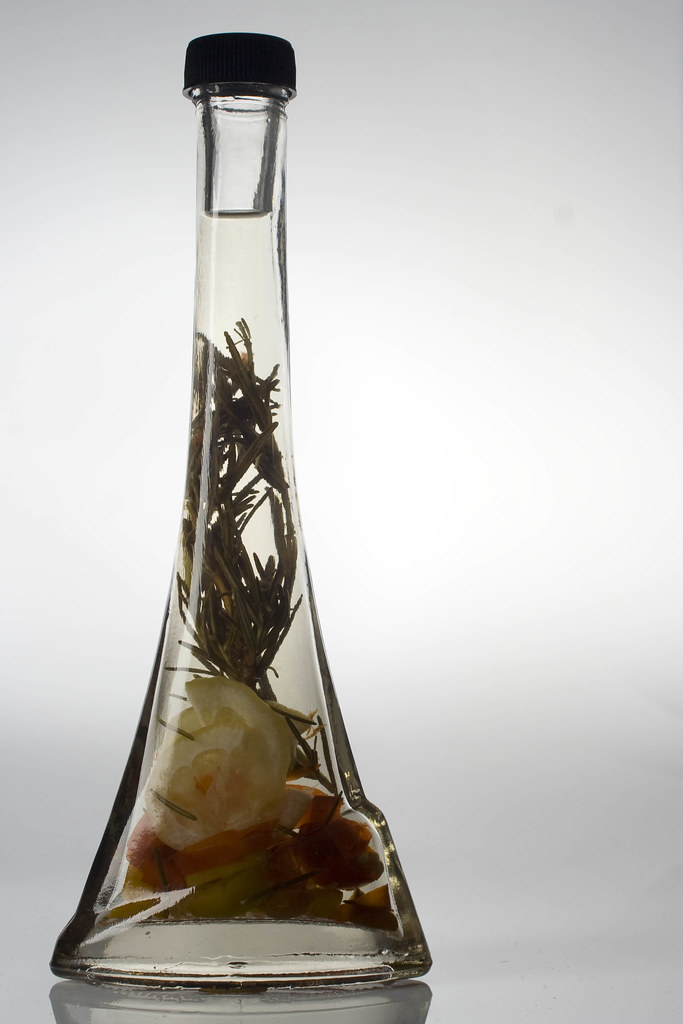
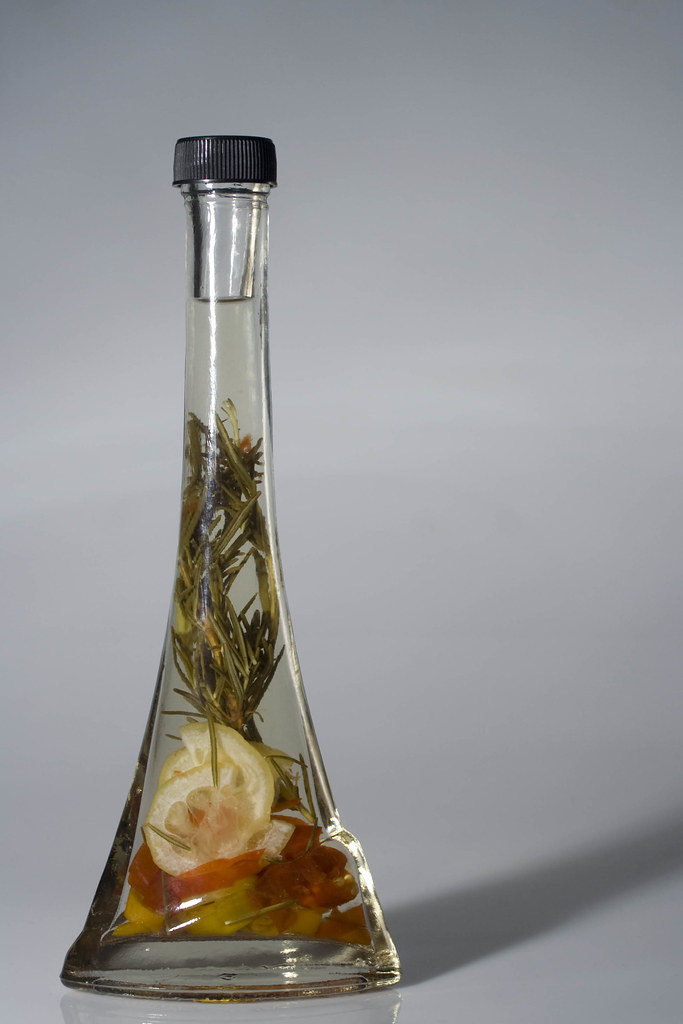
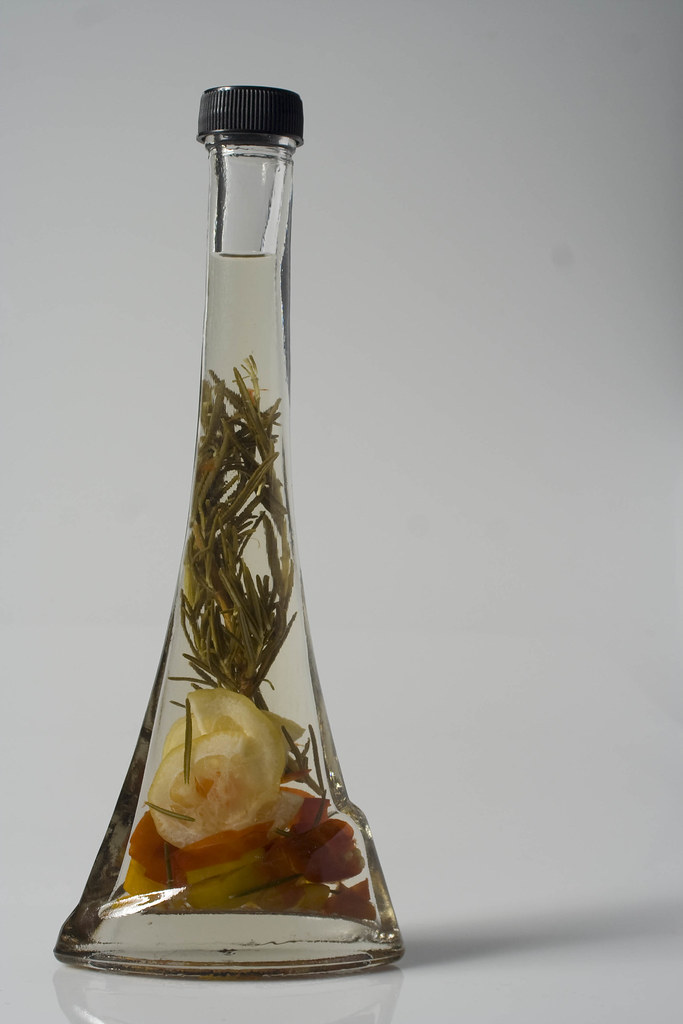
These 3 images were all taken of just the stars, again i feel the bokeh effect really adds to the images. I edited the colours of the images using Adobe Lightroom, and added a slight vignette.

Saturday 28 November 2009

Birdcage


Incandescent, Fluorescent and Halogen Lighting

Fluorescent
These images were taken using a Fluorescent energy saving bulb. 


Halogen
These were taken using a desk lamp/spot light with a halogen bulb. The light is alot harsher since its a very direct light, it also has a pink tinge since the lamp head is pink (see second image)
 

Incandescent
 These were taken using an incandescent bulb, The images seem to have a yellow tinge, which doesn't look so nice with the pink.


Daylight Balanced (5500k) Bulbs
These images were taking using my 5500k continuous lights, I have included this lighting to use as a comparison.

Wednesday 18 November 2009

Fortnightly Picture Project - #2 Hunger

For this weeks project the theme was hunger, i didn't want to do something obvious.. so i decided to go down the route of horror, drawing inspiration from classic Japanese horrors such as Ju-On (The Grudge) and Ringu. Specifically Japanese horror because of the cliche of the girl with the long black hair crawling across the floor, and in the case of Ringu.. out of your TV, with alot of emphasis on thier bony broken hands. I also wanted it to relate to the childhood fear of monsters in your closet/under your bed. At first i was going to shoot this with the arms coming out from under a bed.. but then realised that all the beds in my house are too low down, so i had to try and make it work by doing it from the wardrobe. I got the whole idea to do horror because one of the first ideas i was going to do was a zombie.. hungry for your brains, but i thought that might be a bit too over the top, since i prefer very subtle horror.. i prefer 'creepy' to 'gory'. I think that with these images it's quite hard to tell how it relates to the theme.. but i didn't want the obvious as i said. Just see it as.. if its crawling towards you.. in a very claw-ey manner, its hungry for something, probably you. ;D


Image from Ju-On.
This video also shows what i mean, if you havent seen Ju-On.

Here are my images:

This is the image i chose for my final image, i chose this image because i think it's the strongest. i turned it black and white because i think it looks alot more effective.


This is the alternative image, i think this one gets the idea across more obviously but the other is more technically sound, as i think this image is slightly out of focus. 

Macro Photography

Today we was shown a demonstration by Andy using extension tubes, then we were sent off in groups of four to take some images ourselves. We used a Nikon with a macro lens, Here are some of the images we took:


Dolly

These images are from a shoot with make-up artist Alice Birchmore and her sister modelling. It was my first time working with a make-up artist, and due to bad experiences in the past with no-shows i decided i would arrange everything with the mua this time - which is quite an unusual thing to do for me - i usually contact the model first and then sort the rest out later. We e-mailed each other for around a month, getting our ideas together and giving Alice a chance to have a practise. - It all paid off :)


Tuesday 17 November 2009

Lighting Techniques - Bottle

For this part of the brief we had to take a picture of a glass bottle using different light modifiers - softbox, honeycomb, beauty dish and umbrella. I decided to use a decorational bottle since i thought it would look a little more interesting.

This image is taken with a softbox and a backlight behind the product table. I don't think the highlight along the side of the bottle is strong enough and the content of the bottle is a bit dark.


This image is again, taken with a softbox and backlight. This time i used the flagging technique (by putting black cloth over the softbox) to create a more defined highlight

This image is taken with a honeycomb. The light is a lot harsher since the honeycomb is much more directional, and it brings out all the marks on the bottle that you wouldn't usually see.

This image is taken using an umbrella, i think the lighting in this image is a bit flat, as there are no highlights on the bottle.

This image is taken using a beauty dish, beauty dishes are usually used for lighting portraits, hence the name. The lighting isn't that bad, but i think the big circle highlight is a bit distracting.

Overall i think the softbox with flagging created the nicest lighting, and it seems it is the most effective way to light glass since you can create defined highlights.

Thursday 12 November 2009

Different Light Sources - Bottle

This image was taken in the darkroom under the red light.


This was taken in a object tent, with the light from the window coming from the left. This lighting is quite flat since it's diffused through the side of the tent.


This image is also taken in the object cube, although this time the light from the window was coming from behind the bottle. This lighting doesnt work on the glass so well because of the two big highlights in the bottle and it doesnt really define any shape.

This image was taken on a window ledge, so using just natural light. We decided to use a bottle with frosted glass for this image. I think the lighting is quite nice, but the background is quite destracting. 

This image is the same as above, although using the clear glass bottle to see the effect window lighting has on this.

This image was taken using the light from the mac screens, i don't think this is very effective because there was interferring light from the window, if we had blacked out the room it wouldve worked better.

This image is the same lighting as above, we used the clear glass bottle because the lighting is perhaps more noticeable on this.

These images were taken in the darkroom, in the pitch black. We used a tripod with a slow shutter speed and a mini torch to make light trails around and behind the object. I think this is a really interesting effect that i will probably look into doing more of at somepoint in the future. I think the first and second images are most effective.