Open your chosen photo in develop (by selecting it and then clicking on the develop tab) which should bring up a screen that looks like this:
This is the original image straight from the camera. I think that this image is a little warm, so first i will demonstrate how to 'grey balance' a photo in Lightroom.
Select the white balance selector tool (quick key - W), if you hover this around the image you will see a box come up that says 'pick a target neutral', you will also see the white balance of the preview image change (under the navigator)
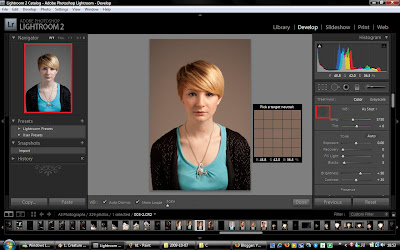
I have highlighted the preview image and where the white balance selector tool is situated in red. I decided to use a colour sample from the background, i feel these are the most neutral colours and if you look at the preview image to the left you can see the white balance in the image looks less warm.
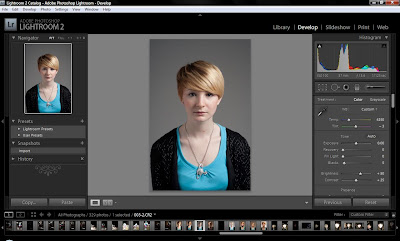
After using the white balance selector tool i adjusted the sliders slightly and now i have my 'grey balanced' or colour corrected version of the image.
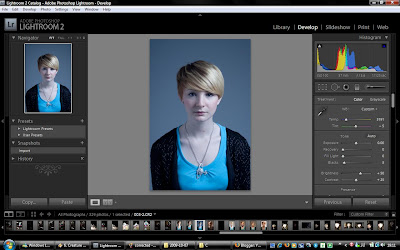
By dragging the temperature slider slightly to the left (to the blue side) you end up with a colder image.
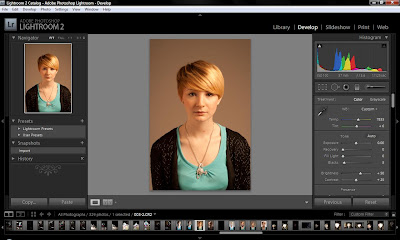
And by dragging the slider slightly to the right you should end up with a warmer image.
Here are the images:

Original
Color corrected/Grey Balanced
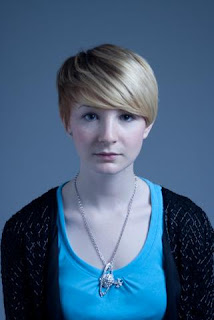
Cold

Warm


0 comments:
Post a Comment